大家好,
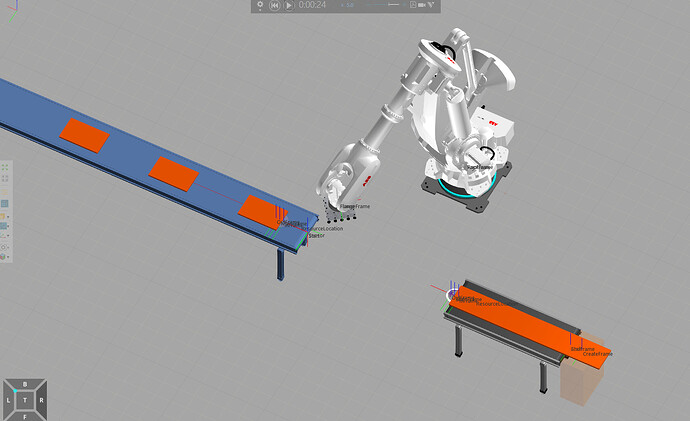
如果我希望零件的材质在按下 HMI 按钮后变为绿色或红色,Python 脚本应该怎么写?原始颜色为黄铜色,每个零件都有一个属性 ID 为 1(表示绿色)或 2(表示红色),该属性需要在仿真前手动输入,并在按下按钮后变为相应的颜色。
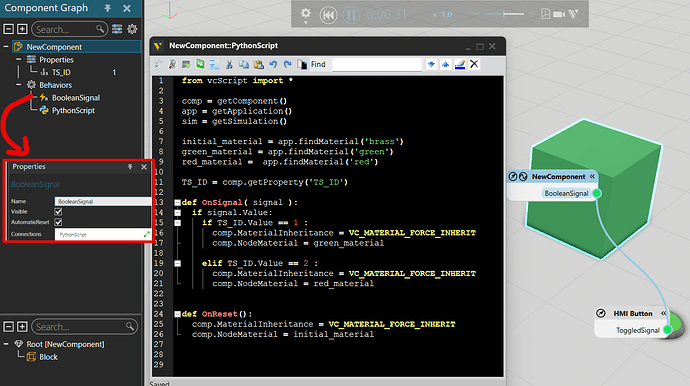
这是我目前为零件编写的 Python 脚本(目前只针对一个零件)。仿真开始时零件为黄铜色,但按下按钮后仍保持黄铜色:
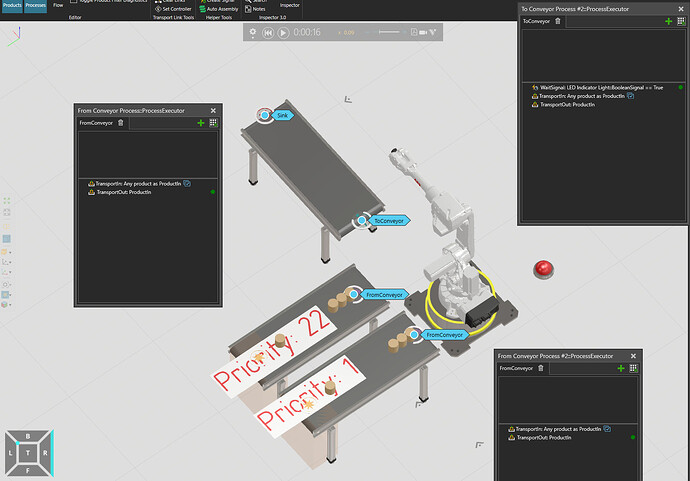
零件:

图片 501×301 25.7 KB
from vcScript import *
comp = getComponent()

def apply_material_recursive(node, material):
node.MaterialInheritance = VC_MATERIAL_FORCE_INHERIT
node.NodeMaterial = material
for child in node.Children:
apply_material_recursive(child, material)

def set_self_material(material):
if material is None:
return
apply_material_recursive(comp, material)

ts_id_prop = comp.getProperty("TS_ID") # 整数:1=绿色,2=红色(手动设置)
brass_prop = comp.getProperty("Brass Material") # 引用<材质>
green_prop = comp.getProperty("Green Material") # 引用<材质>
red_prop = comp.getProperty("Red Material") # 引用<材质>

def set_brass():
set_self_material(brass_prop.Value)

def reveal_color():
ts_id = ts_id_prop.Value
if ts_id == 1:
set_self_material(green_prop.Value)
elif ts_id == 2:
set_self_material(red_prop.Value)
else:
set_brass()

def OnReset():
set_brass()

def OnStart():
set_brass()

def on_scan(signal):

if signal.Value:
reveal_color()

scan_in = comp.findBehaviour("ScanIn") # TS 上的布尔信号
if scan_in:
scan_in.OnValueChange = on_scan

初始状态
set_brass()
提前感谢!

 微信扫一扫,打赏作者吧~